Flutter: архитектура BLOC
Основная идея данной архитектуры — отделить отрисовку от логики. Побочная возможность — еще один способ изменения данных виджета из другого виджета, без использования StreamController (ну на самом деле он таки используется но «внутри») и передергивания SetState

Итак, для использования нужно в pubspec.yaml добавить:
dependencies:
  bloc: ^8.1.1
  flutter_bloc: ^8.1.2
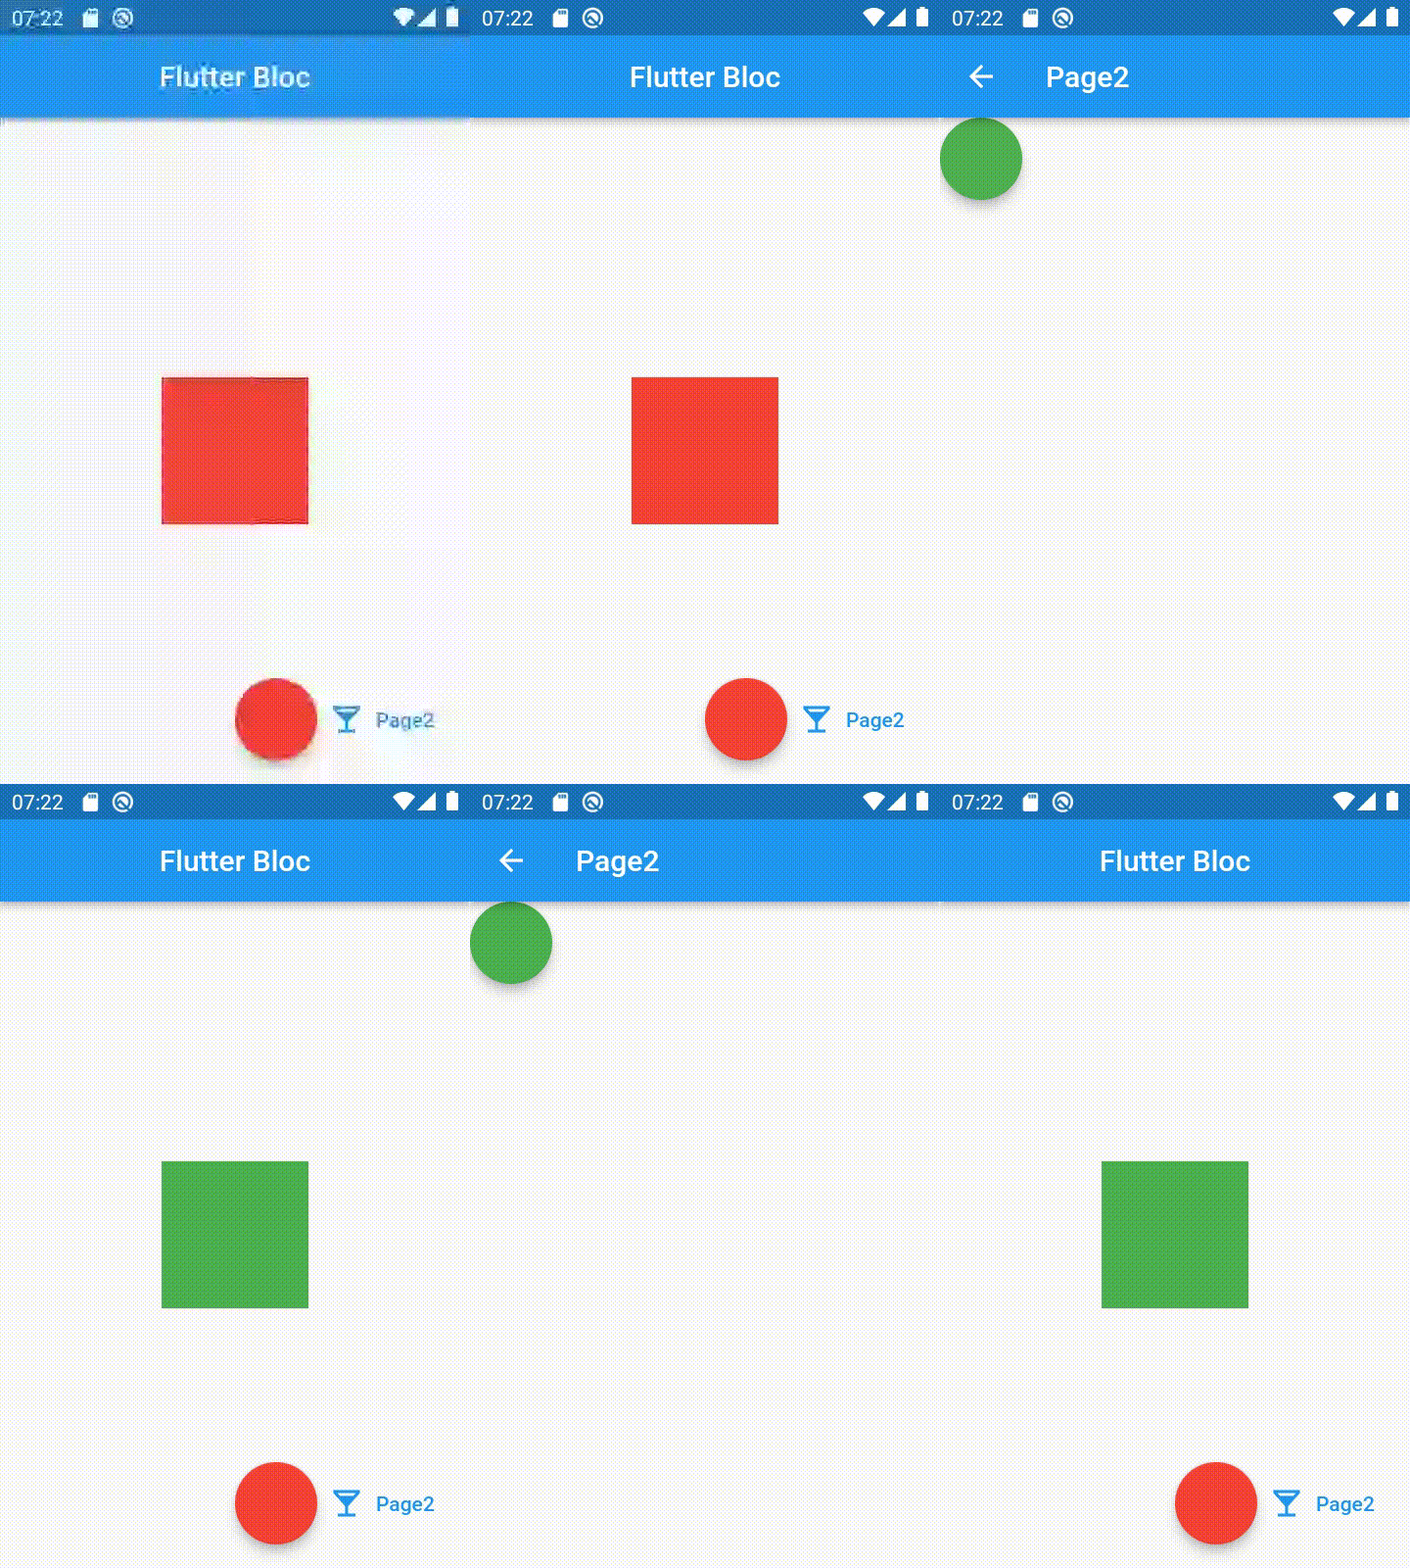
Поставим себе простейшую задачу: нарисовать квадрат и изменять его цвет в зависимости от нажатой кнопки. Для этого оформим отдельный файл, где пропишем два эвента: сменить цвет на красный и зелёный:
import 'package:flutter/material.dart';
import 'package:flutter_bloc/flutter_bloc.dart';

abstract class ColorEvent {}
class event_red extends ColorEvent {}
class event_green extends ColorEvent {}

class ColorBloc extends Bloc<ColorEvent, Color> {
  ColorBloc() : super(Colors.black) {
    on<event_red>((event, emit) {
      emit(Colors.red);
    });
    on<event_green>((event, emit)  {
      emit(Colors.green);
    }
    );
  }
  @override
  void onEvent(ColorEvent event) {
    super.onEvent(event);
    print(event);
  }
}
Далее оформим две страницы:
import 'bloc/color_bloc.dart';
import 'Page2.dart';
import 'package:flutter/material.dart';
import 'package:flutter_bloc/flutter_bloc.dart';

void main() {
  runApp(MyApp());
}
class MyApp extends StatelessWidget {
  @override
  Widget build(BuildContext context) {
    return BlocProvider<ColorBloc>(
        create: (context) => ColorBloc(),
        child:MaterialApp(
          debugShowCheckedModeBanner: false,
          title: 'Flutter Bloc',
          initialRoute: '/',
          routes: {
            "/": (BuildContext context) =>MyHomePage(),
            '/Page2':(BuildContext context) =>  Page2(),
          },
        )
    );
  }
}
class MyHomePage extends StatefulWidget {
  _MyHomePageState createState() =>
      _MyHomePageState();
}
class _MyHomePageState extends State<MyHomePage> {
  @override
  Widget build(BuildContext context) {
    ColorBloc _bloc = BlocProvider.of<ColorBloc>(context);
    return Scaffold(
      appBar: AppBar(
        title: Text('Flutter Bloc'),
        centerTitle: true,
      ),
      body: Center(
        child: BlocBuilder<ColorBloc, Color>(
          builder: (context, currentColor) => Container(height: 100, width: 100, color: currentColor,
          ),
        ),
      ),
      floatingActionButton: Row(
        mainAxisAlignment: MainAxisAlignment.end,
        children: <Widget>[
          FloatingActionButton(
            heroTag: "btn3",
            backgroundColor: Colors.red,
            onPressed: () {_bloc.add(event_red());},
          ),
          TextButton.icon(
              onPressed: () {
                Navigator.pushNamed(context, '/Page2');
              },
              icon: Icon(Icons.local_bar_sharp),
              label: Text("Page2")
          ),
        ],
      ),
    );
  }
}
Вторая страница:
import 'package:flutter/cupertino.dart';
import 'package:flutter/material.dart';
import 'bloc/color_bloc.dart';
import 'package:flutter_bloc/flutter_bloc.dart';
class Page2 extends StatefulWidget {
  _Page2State createState() =>
      _Page2State();
}
class _Page2State extends State<Page2> {
  final Page2_scaffoldKey = GlobalKey<ScaffoldState>();
  @override
  Widget build(BuildContext context) {
    var myBloc = BlocProvider.of<ColorBloc>(context);
    return
      Scaffold(
          key: Page2_scaffoldKey,
          appBar: AppBar(title: Text('Page2'),),
          body:
            FloatingActionButton(
              heroTag: "btn12",
              backgroundColor: Colors.green,
              onPressed: () {
                myBloc.add(event_green());
              },
            ),
      );
  }
}
А теперь чуть усложним задачу. Добавим квадрат который будет скрываться при нажатии конпки на втором экране, а еще, для разделения функционала, оформим в папке bloc/notify классы согласно рекомендациям архитектуры. Добавим еще один блок, и разделим его на три файла: bloc, event и state:
event:
abstract class NotifyEvent {}

class InitEvent extends NotifyEvent {}
class EventShow extends NotifyEvent {}
class EventHide extends NotifyEvent {}
state:
class NotifyState {
  bool visible=false;
  NotifyState init(bool visible) {
    this.visible=visible;
    return NotifyState();
  }
  NotifyState clone() {
    return NotifyState();
  }
}
bloc:
import 'package:bloc/bloc.dart';

import 'event.dart';
import 'state.dart';

class NotifyBloc extends Bloc<NotifyEvent, NotifyState> {
  NotifyBloc() : super(NotifyState().init(true)) {
    on<InitEvent>(_init);
    on<EventShow>((event, emit)  {
      NotifyState visible=NotifyState();
      visible.visible=true;
      emit(visible);
    });
    on<EventHide>((event, emit)  {
      NotifyState visible=NotifyState();
      visible.visible=false;
      emit(visible);
    });
  }
  void _init(InitEvent event, Emitter<NotifyState> emit) async {
    emit(state.clone());
  }
}
В основном классе виджета будем использовать вместо BlocProvider, MultiBlocProvider:
class MyApp extends StatelessWidget {
  @override
  Widget build(BuildContext context) {
    return MultiBlocProvider(
      providers: [
        BlocProvider<ColorBloc>(
          create: (context) => ColorBloc(),
        ),
        BlocProvider<NotifyBloc>(
          create: (BuildContext context) => NotifyBloc(),
        ),
      ],
      child:
      MaterialApp(
        debugShowCheckedModeBanner: false,
        title: 'Flutter Bloc',
        initialRoute: '/',
        routes: {
          "/": (BuildContext context) =>MyHomePage(),
          '/Page2':(BuildContext context) =>  Page2(),
        },
      )
    );
  }
}
Отрисовка квадрата:
BlocBuilder<NotifyBloc, NotifyState>(
                  builder: (context, currentNotifyState) =>
                      Visibility(
                        visible: currentNotifyState.visible,
                        child: Container(height: 100, width: 100, color: Colors.lightBlue,),
                      )
                ),
Кнопка скрытия квадрата на втором экране:
            FloatingActionButton(
              heroTag: "btn12",
              backgroundColor: Colors.green,
              onPressed: () {
                myBloc.add(event_green());
                BlocProvider.of<NotifyBloc>(context).add(EventHide());
              },
            ),